
Stories From The Garden
Creating A New Shingle Bed
Turning an ordinary garden area into a neat, low-maintenance feature.
The project
Creating A New Decorative Shingle Bed
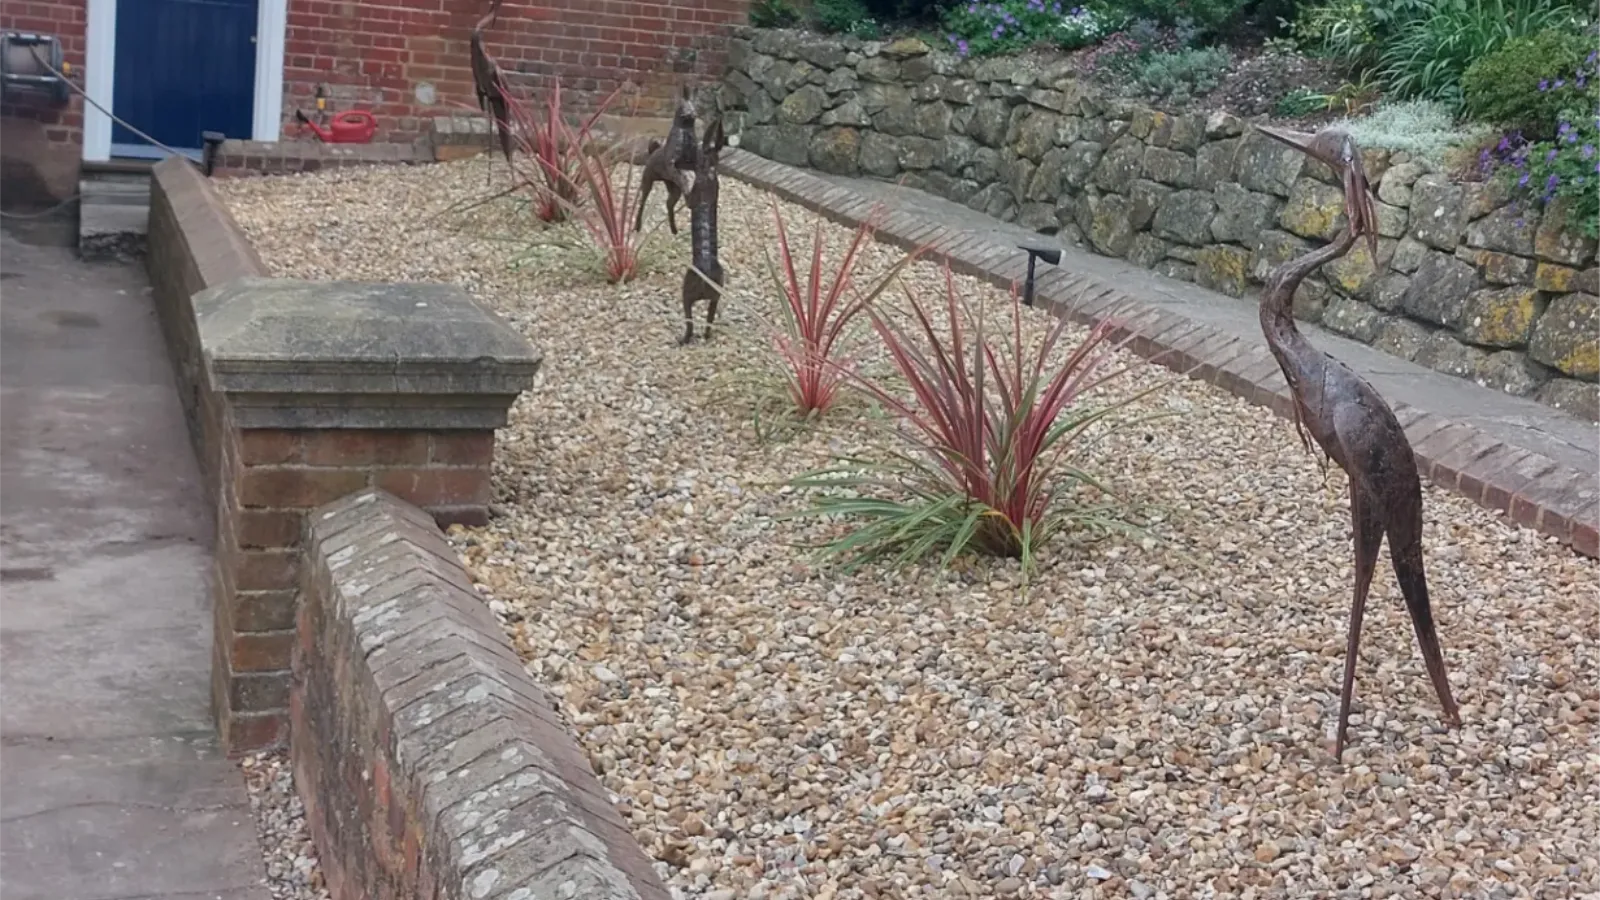
A decorative shingle bed may look straightforward when it is finished, but preparing the area underneath is an important part of the job.
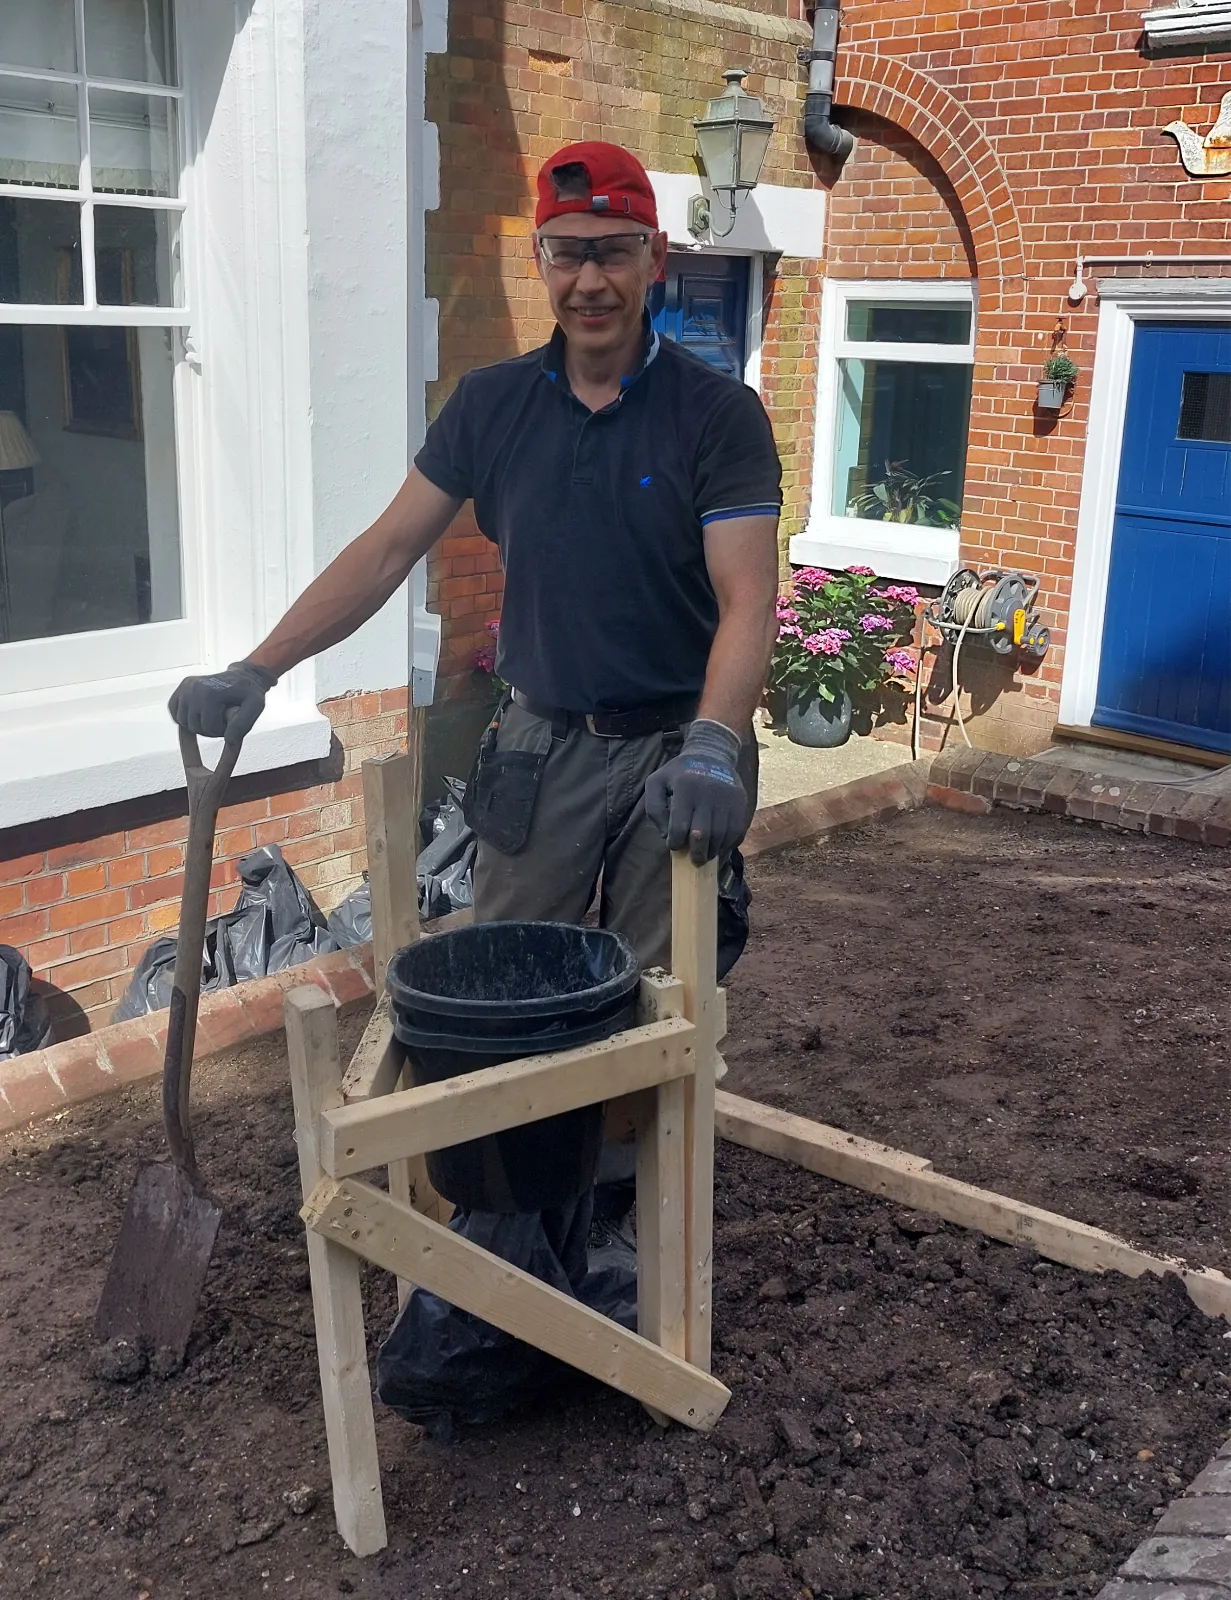
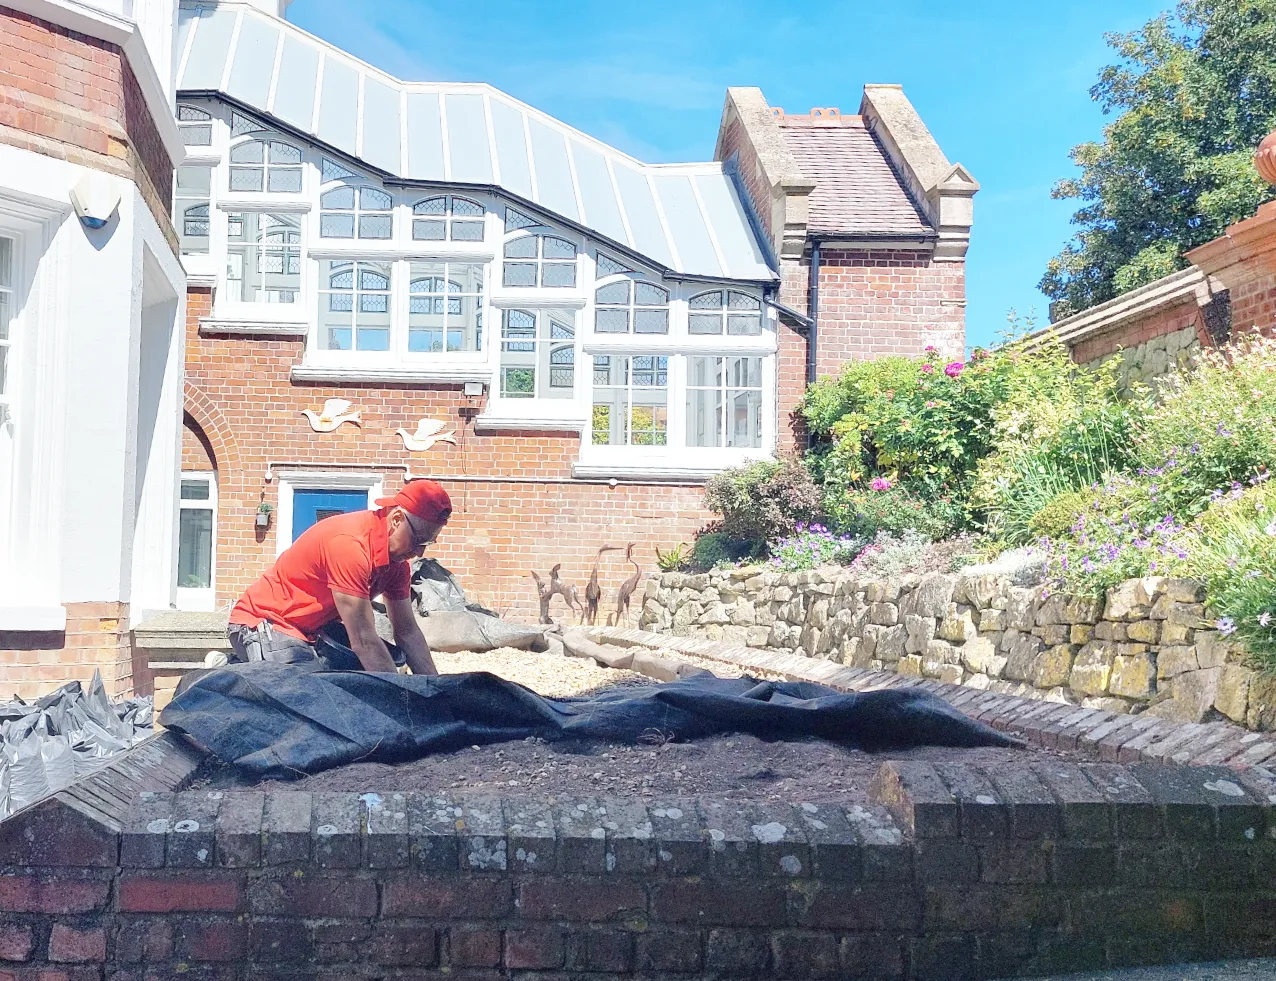
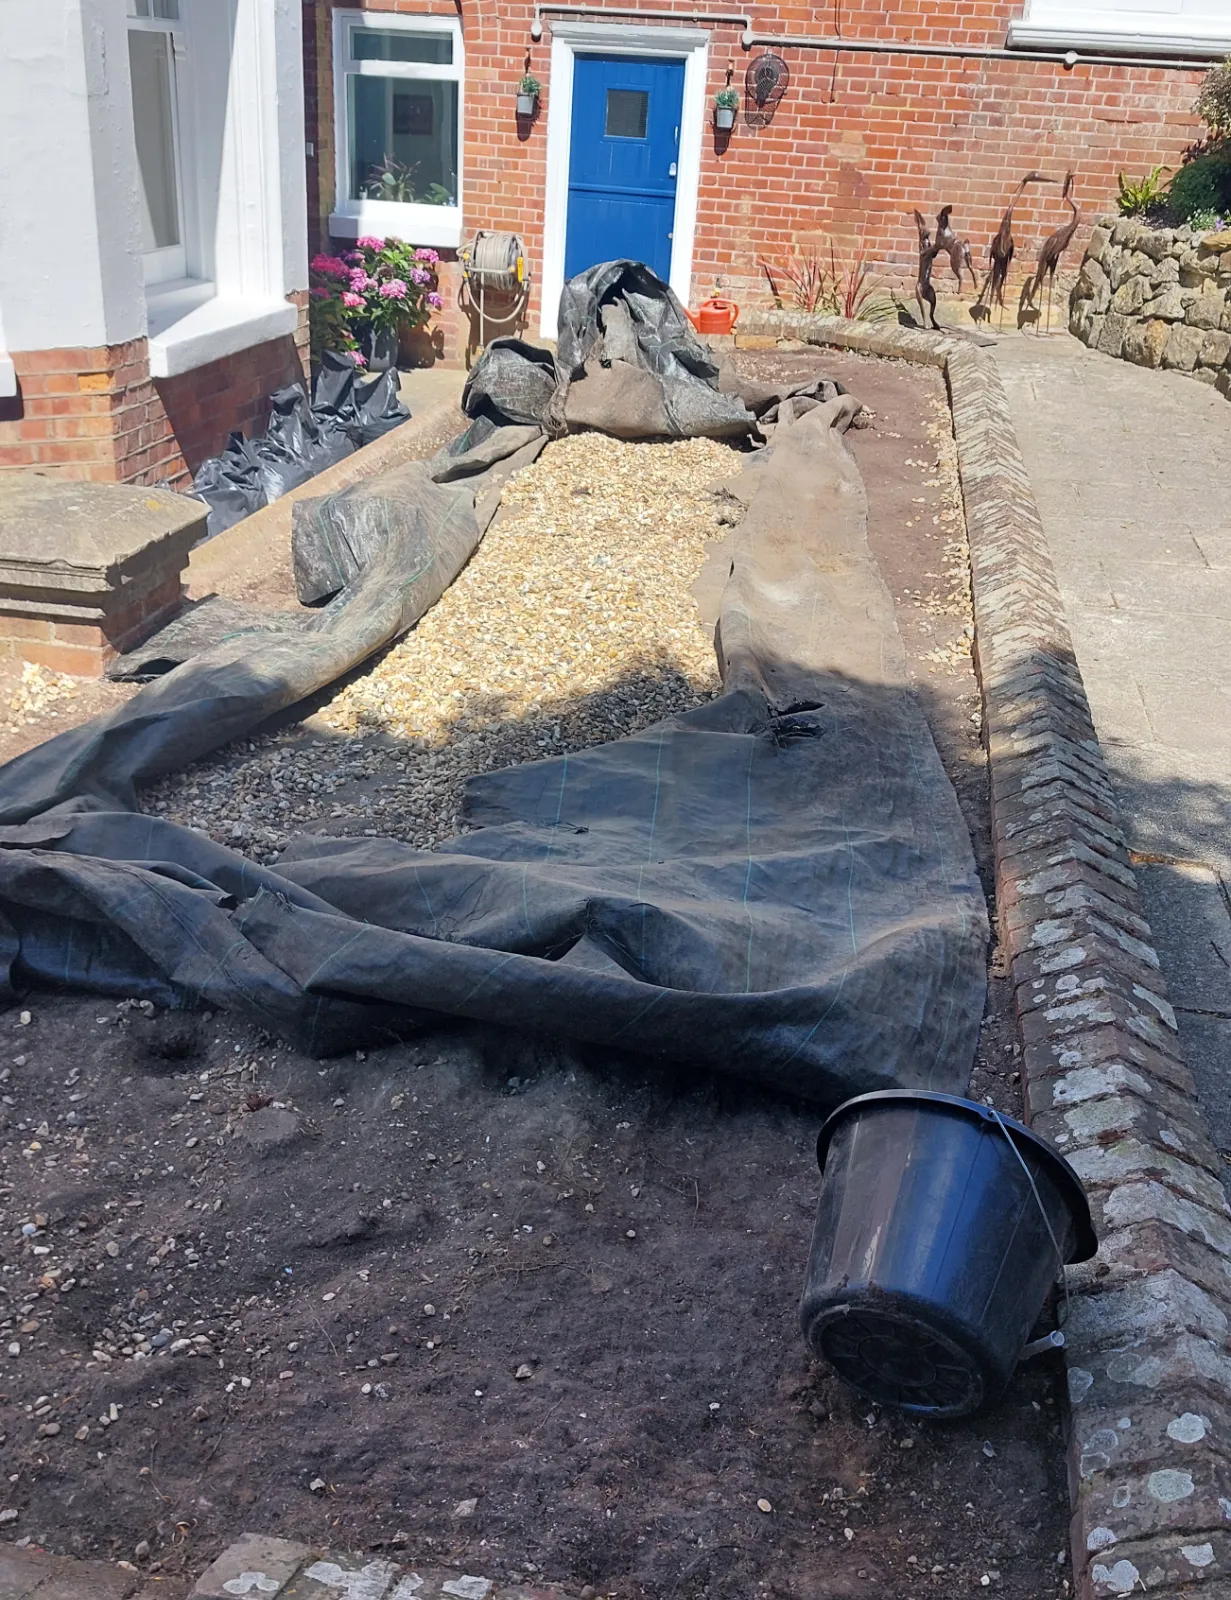
The ground was prepared before a barrier layer was laid over the area. The decorative stones could then be added to create the finished surface.
The result is a tidy garden feature that provides an attractive alternative to leaving the area as bare soil.
What makes the difference
Good preparation beneath a simple finish
The completed shingle bed gives the area a clean, finished appearance while creating a relatively simple and low-maintenance surface.
Ground prepared
The area was prepared before the finished surface was introduced.
Barrier installed
A barrier layer was laid beneath the decorative stones.
Decorative finish
Beach stones were used to create the final appearance of the bed.
Low maintenance
The finished surface provides a tidy alternative to leaving the area as bare soil.
The process
A simple finish built on careful preparation
The finished appearance comes from completing each underlying stage in the right order.
Assess
Consider the area to be improved and the finished appearance required.
Prepare
Clear and prepare the ground before introducing the new surface.
Level
Bring the prepared area to a suitable level for the layers that will follow.
Barrier
Lay the barrier layer beneath the decorative stones.
Shingle
Add the beach stones to form the visible decorative surface.
Finish
Spread and arrange the stones to give the bed a neat, even appearance.
Step by step
From preparation to finished shingle bed
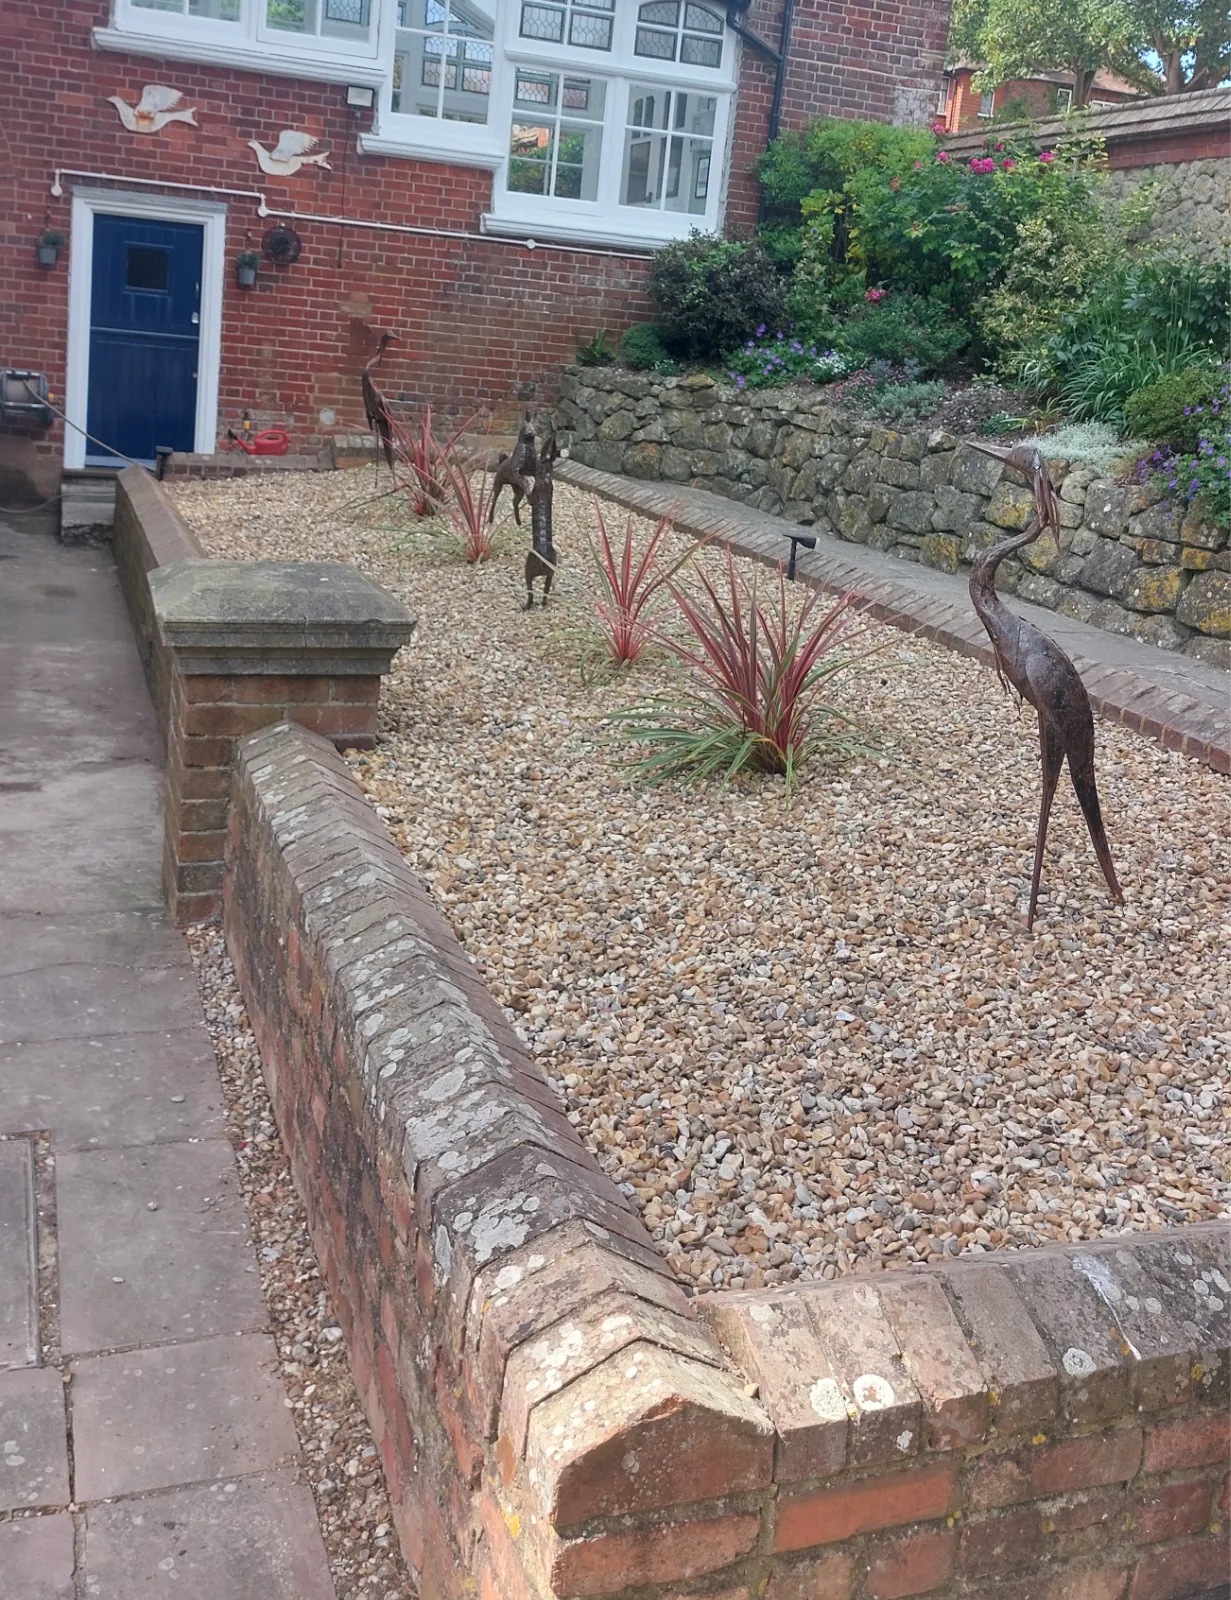
The photographs show the area being prepared, the barrier layer going down and the decorative stones creating the final surface.
 1
1
 2
2
 3
3
 4
4
The finished result
A simple garden improvement with a clean finished appearance
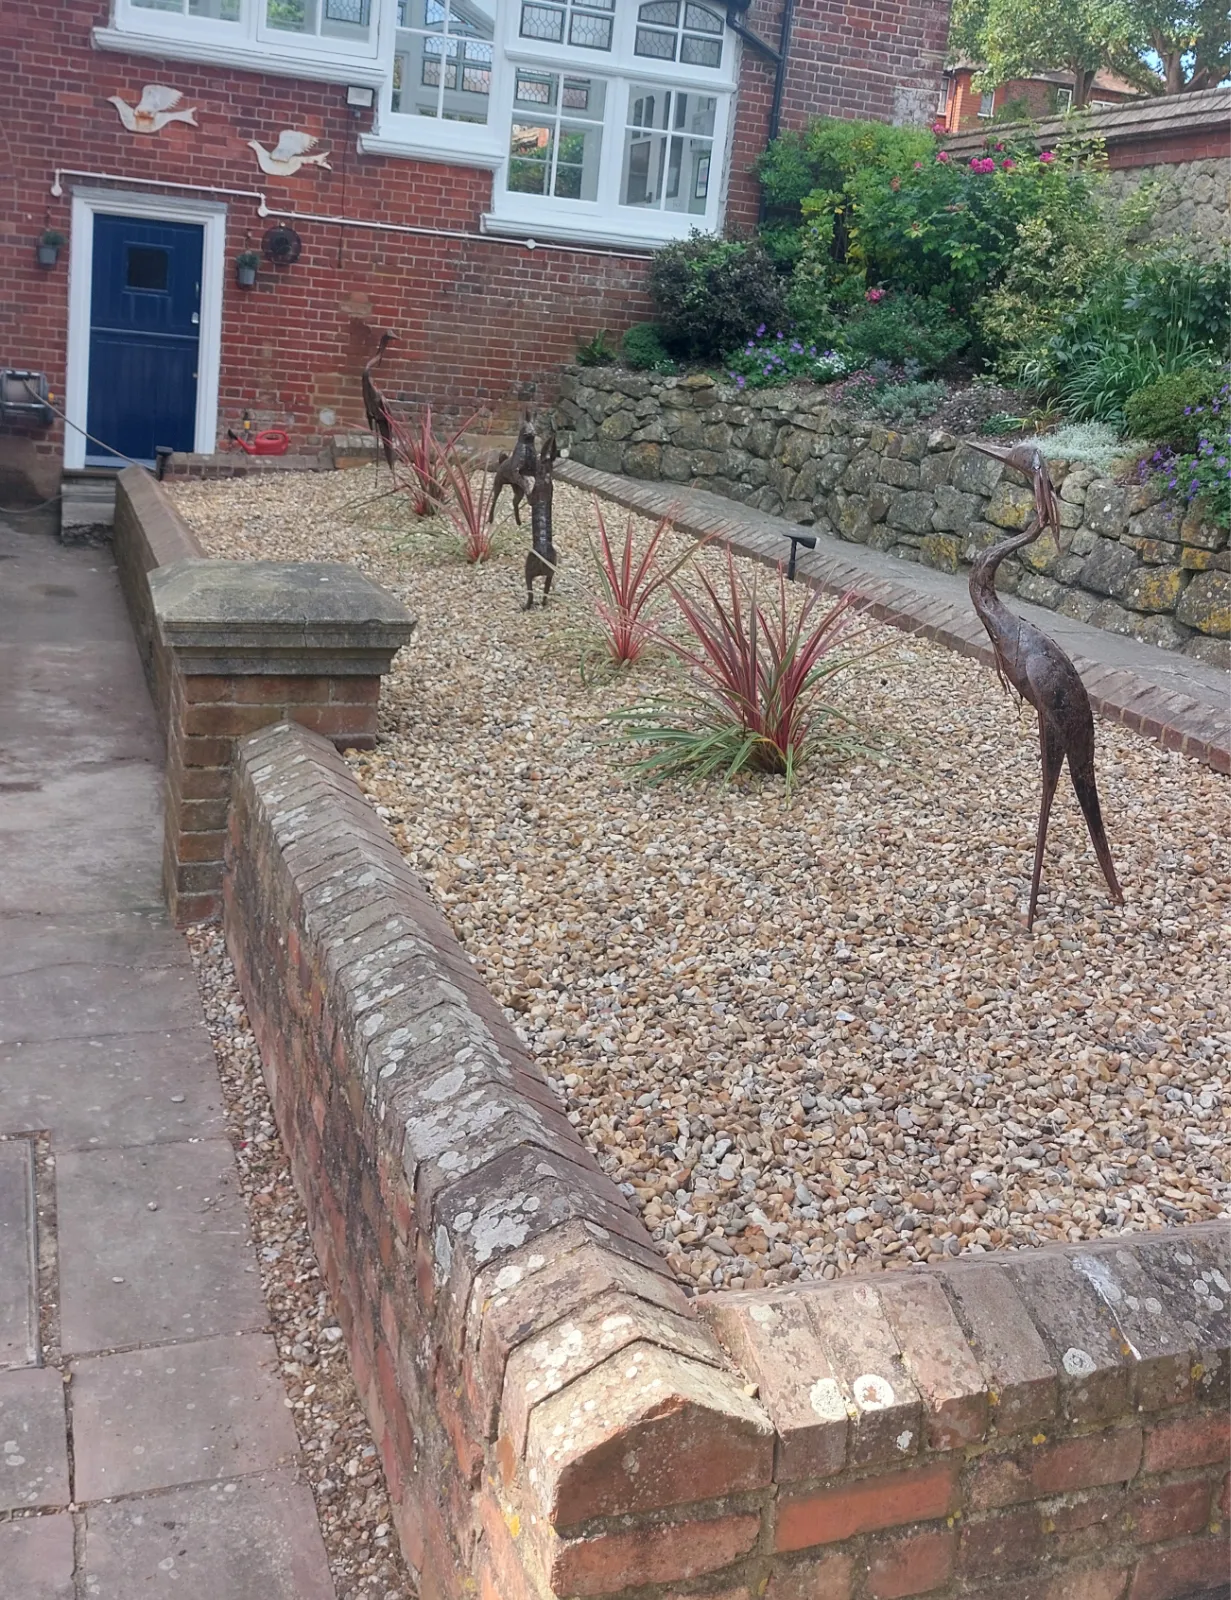
The completed bed transforms the area into a defined garden feature using a straightforward combination of careful preparation, a barrier layer and decorative stones.
Although the preparation beneath the surface is no longer visible, it is an important part of producing the neat result seen at the end.
The finished shingle provides an attractive and relatively low-maintenance surface for the garden.
What this project demonstrates
A simple garden improvement depends on getting the groundwork right
Preparation
Clearing and levelling the area properly before the decorative surface is introduced.
Layering
Installing the barrier beneath the stones so that the visible finish is separated from the ground below.
Practical improvement
Turning an ordinary patch of garden into a defined and relatively low-maintenance feature.
Finished appearance
Spreading and arranging the decorative stones carefully to create a neat, even surface.
Have a garden area you would like to improve?
Ask Dmytro about a practical garden improvement
Send a few photographs of the area and an idea of what you would like to achieve, and Dmytro can take a look at the possibilities.